
Mikochi
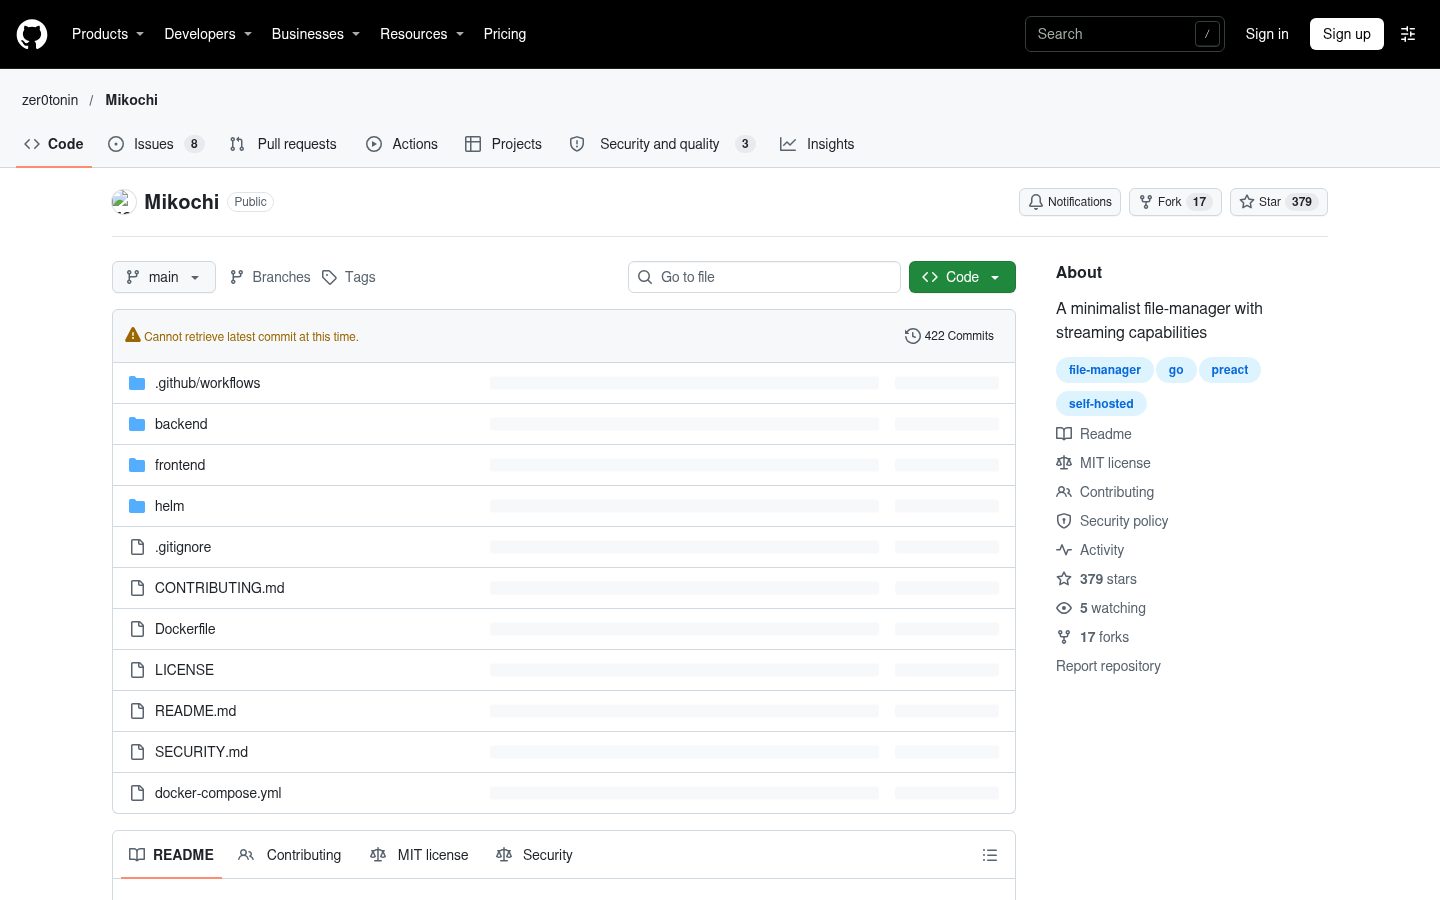
Mikochi is a remote file browser for your self-hosted server or NAS.
Automatically checked · GitHub checked 2026-11-12
Overview
🌱 Mikochi: a minimalist remote file browser
Mikochi is a remote file browser for your self-hosted server or NAS. It allows you to browse remote folders, upload, delete, rename and download files. You can also use it to generate streaming links which can be played using VLC or mpv
Features
- Browse files on you remote server
- Fuzzy search
- Upload new files and create folders
- Rename and delete files
- Download files and directories (in .tar.gz)
- Stream files to VLC/MPV
- Lightweight web interface built in Preact
- High-performance server built in Go/Gin
Getting started
Docker
Launch the app using docker:
docker run \
-p 8080:8080 -v $(PWD)/data:/data \
-e DATA_DIR="/data" -e USERNAME=zer0tonin \
-e PASSWORD=horsebatterysomething zer0tonin/mikochi:latest
You'll find a complete tutorial on installing Mikochi securely with Docker and Traefik here.
Kubernetes
For Kubernetes users, Mikochi is installable using a helm chart:
helm repo add zer0tonin https://zer0tonin.github.io/helm-charts/
helm install mikochi zer0tonin/mikochi \
--version 1.13.6 --set mikochi.username=zer0tonin \
--set mikochi.password=my_super_password --set persistence.enabled=true
Debian / Ubuntu / Mint
Install the app using a .deb package from the latest release.
wget -c https://github.com/zer0tonin/Mikochi/releases/download/1.13.6/mikochi-1.13.6-linux-amd64.deb

sudo chmod +x mikochi-1.13.6-linux-amd64.deb
sudo apt install mikochi-1.13.6-linux-amd64.deb
sudo mkdir /data

PASSWORD=horsebatterysomething mikochi
Fedora / Red Hat / CentOS
Install the app using a .rpm package from the latest release.
wget -c https://github.com/zer0tonin/Mikochi/releases/download/1.13.6/mikochi-1.13.6-linux-amd64.rpm

sudo chmod +x mikochi-1.13.6-linux-amd64.rpm
sudo rpm -ivh mikochi-1.13.6-linux-amd64.rpm
sudo mkdir /data

PASSWORD=horsebatterysomething mikochi
Binary
Launch the app using a pre-compiled binary from the latest release:
wget -c https://github.com/zer0tonin/Mikochi/releases/download/1.13.6/mikochi-1.13.6-linux-amd64.tar.gz -O - | tar -xz

sudo mkdir /data
sudo mkdir /usr/share/mikochi
sudo mv ./mikochi-1.13.6/mikochi /usr/bin/mikochi
sudo mv ./mikochi-1.13.6/static /usr/share/mikochi/static

PASSWORD=horsebatterysomething mikochi
Configuration
Mikochi is configured using environment variables
| Key | Description | Default |
|---|---|---|
| HOST | The ip:port Mikochi will listen on | 0.0.0.0:80 |
| DATA_DIR | The directory accessed by Mikochi | /data |
| JWT_SECRET | A secret string for JWT validation (see warning) | [Random] |
| USERNAME | The username for login | root |
| PASSWORD | The password for login | pass |
| CERT_CA | The path to a TLS certificate | null |
| CERT_KEY | The path to the key associated with CERT_CA | null |
| NO_AUTH | If true, disables all authentication | false |
| GZIP | If true, enables gzip compression | false |
| FRONTEND_FILES | The location of the frontend static files | /usr/share/mikochi/static |
| PATH_PREFIX | A prefix to Mikochi's URL path | / |
Security considerations
USERNAME and PASSWORD values should be changed from the default root/pass combination, as this one is obviously extremely insecure.
For the sake of minimalism, Mikochi authentication supports a single username / password combo.
More sophisticated setups can be easily implemented by forking this repository.
Binding the entire file system by setting DATA_DIR to / is probably a bad idea.
This could have dire consequences for your system's integrity if an attacker gained attack to Mikochi.
If NO_AUTH is set to true, anyone will be able to access your Mikochi instance.
It's a bad idea to do that on the open internet, as anyone could use your instance to upload and store files you would not want anywhere near your hard disk.
Only use that on machines that are not accessible outside of a private network.
Do not touch the JWT_SECRET configuration key unless you are 100% sure your use case requires it.
If JWT_SECRET is not set, Mikochi will regenerate a new random secret every startup.
This is more secure than setting a hard-coded secret.
Using hard-coded secrets can lead to sharing the secret between multiple processes over time.
This renders token invalidation on logout ineffective.
It's a very good idea to run Mikochi with TLS (HTTPS).
You can obtain free certificates using Let's Encrypt.
They can be configured using CERT_CA and CERT_KEY or through a reverse proxy.
Development
Launching the development environment
The development environment requires Docker and docker-compose.
Starts the dev container to run the development environment:
docker compose up -d dev
This will start:
- dev: a Traefik container proxying the frontend and backend on port 8080
- dev-frontend: a NodeJS container running the Preact frontend (accessible directly on port 5000)
- dev-backend: a Golang container running the backend (accessible directly on port 4000)
Both the backend and frontend should automatically reload when the code is changed.
Backend debugging is exposed on port 2345 and can be accessed using delve:
dlv connect localhost:2345
Creating a production build
[!NOTE]
This can be done automatically by running thereleaseGitHub Action workflow (triggered on tag).
Build the frontend using npm:
cd frontend
npm run build
Build the backend using go:
cd backend
go build -o ./mikochi .
Create the docker image using buildx:
docker buildx imagetools create \
    -t "zer0tonin/mikochi:latest" \
    "zer0tonin/mikochi:latest-amd64" \
    "zer0tonin/mikochi:latest-arm64" \
    "zer0tonin/mikochi:latest-armv7"
Related projects
- Mikochi-Player: web-based video player made to work alongside Mikochi